How to build a headless WordPress website with ReactJS & Frontity - Pt. 2
The next steps to setting up your Frontity project...
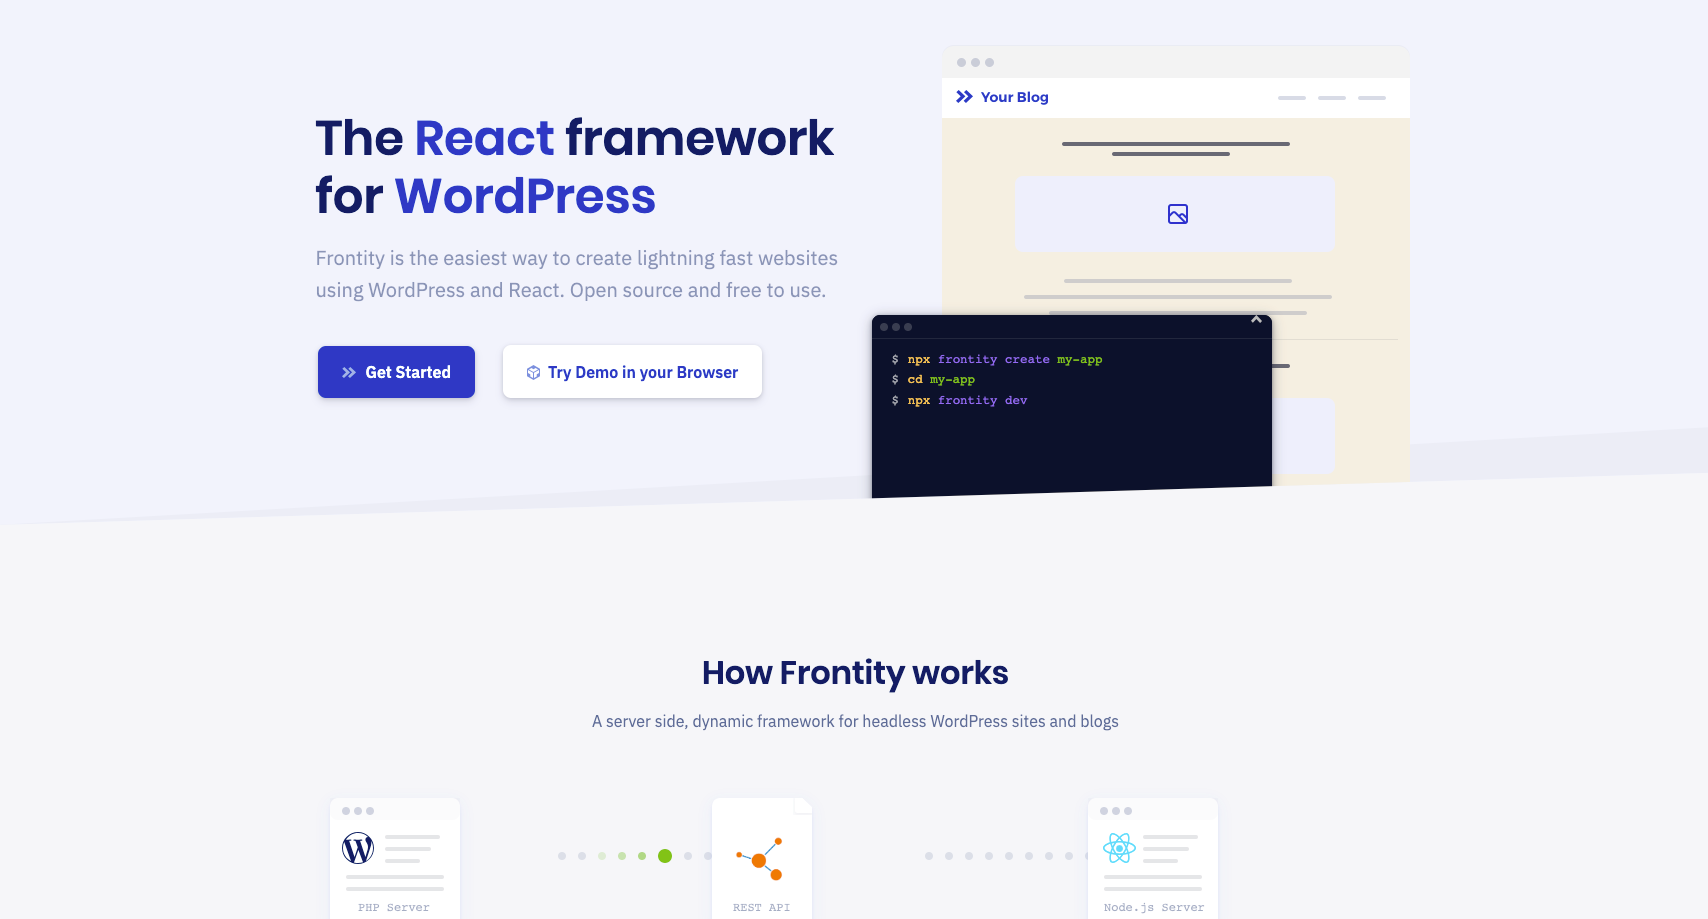
Step 2: As Frontity is a React framework, you'll need to have Node installed before creating your project. Ensure that you do, and then create a new Frontity project by entering the following command in your terminal:
npx frontity create my-frontity-project
You'll be prompted with the following:

Enter (y) to proceed. During the install process, the terminal will again prompt you with the following:

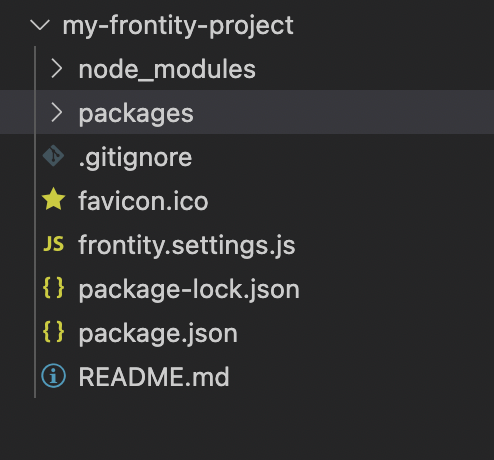
You'll be asked to select a starter theme. It's recommended that if it's your first time using Frontity, then you should select @frontity/mars-theme to start with. By using the Mars-Theme, Frontity essentially gives you a fully bootstrapped project set up with a starter theme that can be easily customised. The Frontity documentation will also use the Mars-Theme as a reference, so it's easy to follow along with Frontity's own installation and customisation guides. Once you've selected this, the installation will complete and a directory with the same name as the project name you used will be created. It will have a structure similar to this:
my-frontity-project/
|__ node_modules/
|__ package.json
|__ frontity.settings.js
|__ favicon.ico
|__ packages/
    |__ mars-theme/
You can run the project locally by executing this command from the terminal:
cd my-frontity-project && npx frontity dev
Doing so will load your Frontity project at http://localhost:3000/ where you'll see the Mars-Theme you also installed. It should look like the following:
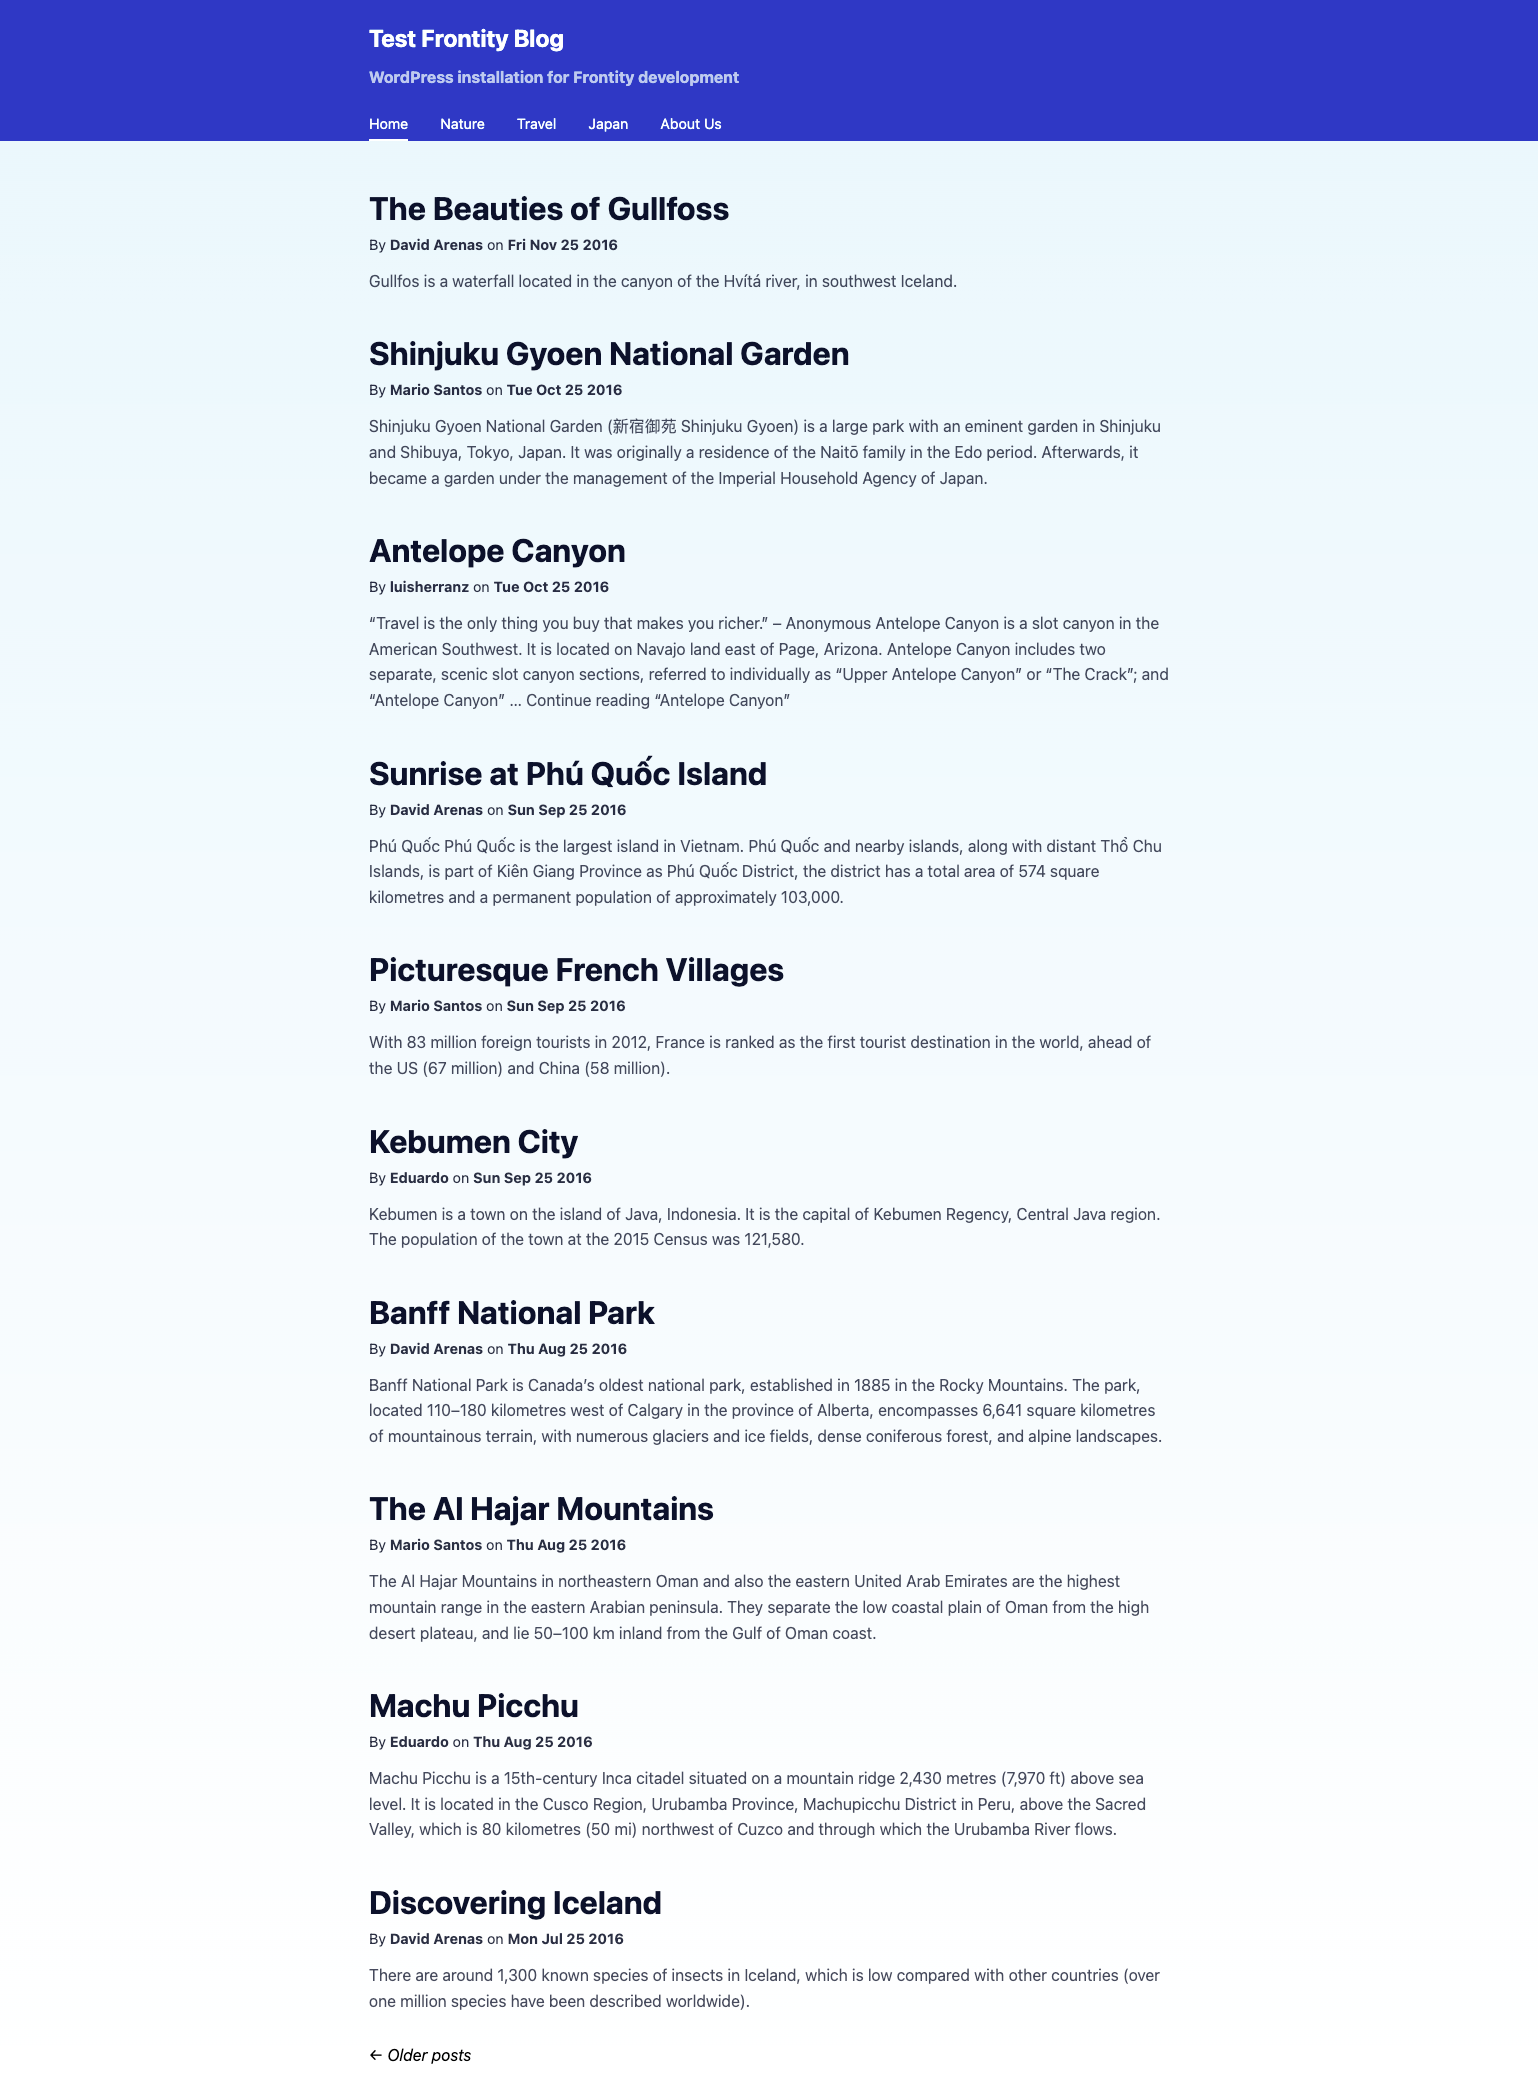
At the moment your Frontity project is using content data from Frontity's own test WordPress site - https://test.frontity.org/. This is good news because it means that your Frontity project is pulling data from the WordPress REST API, just not your own site's yet. So lets fix that...
In your Frontity project, openfrontity.settings.js in your I.D.E. of choice. You should see the following code:
const settings = {
  ...,
  packages: [
    ...,
    {
      name: "@frontity/wp-source",
      state: {
        source: {
          // Change this url to point to your WordPress site.
          url: "https://test.frontity.org/"
        }
      }
    }
  ]
}
To set your own WordPress installation as the data source you can connect your own WordPress site to your Frontity project by setting the state.source.url property in the frontity.settings.js file.
Since the point of this tutorial is to go a little more in depth than the example used in the Frontity documentation, there is one more change you'll need to make on the WordPress installation side...
The Frontity WordPress test site (https://test.frontity.org/) is a blog and the example in Frontity's documentation assumes you're setting up a blog site. However, my tutorial is showing you how to set up a website with a blog included. So if your own WordPress installation has pages and no posts at this point, you probably won't be seeing your content in the Mars-Theme on your localhost. To fix this, hop back over to your WordPress site, and go to your website's homepage and click "customise" in the top admin bar. You'll then see the following:
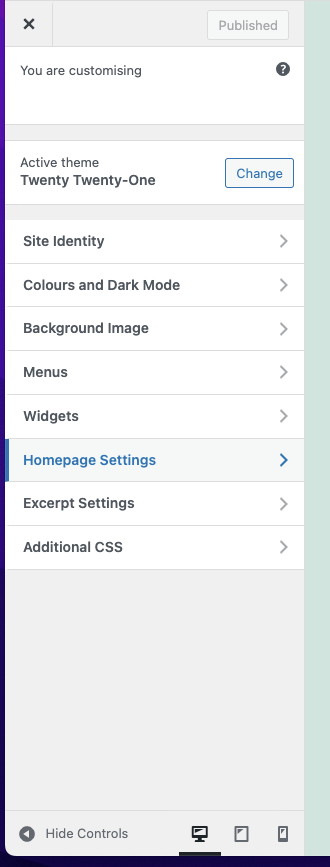
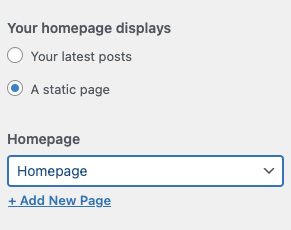
Click on "Homepage Settings" and then set your homepage as a static page like the following:
There is also the option on there to set your posts page, if you have added a posts/blog page you can set that also at this point.
Once these have been set, head back in to your Frontity project and open frontity.settings.js file again. In this settings file, you can reflect the changes you just made by adding the following:
const settings = {
  ...,
  packages: [
    ...,
    {
      name: "@frontity/wp-source",
      state: {
        source: {
          // Change this url to point to your WordPress site.
          url: "https://test.frontity.org/",
          homepage: "/homepage",
          postsPage: "/blog"
        }
      }
    }
  ]
}
Now, you'll see your static homepage rendered in your localhost with the Mars-Theme. You'll also notice that it's not using your WordPress site's menu, instead it's still displaying the menu relating to the Frontity test site. This is actually hard coded in the Mars-Theme in frontity.settings.js. Let's remove those menu items and instead pull in our dynamic menu from our WordPress installation, called from the REST API. Remember we already exposed this on the WordPress REST API side, so we just have to make some changes in our Frontity project to get this working.
First, in frontity.settings.js under "packages" / "name" / "state" / "theme", you'll see "menu", which looks like the following:
"menu": [
  [
    "Home",
    "/"
  ],
  [
    "Nature",
    "/category/nature/"
  ],
  [
    "Travel",
    "/category/travel/"
  ],
  [
    "Japan",
    "/tag/japan/"
  ],
  [
    "About Us",
    "/about-us/"
  ]
],
Delete the above from frontity.settings.js. Once you've done that, then open the "components" directory under the "src" directory in your Frontity project's Mars-Theme - src/components/ and add a new directory called "handlers" inside the components directory - src/components/handlers.Then add a menu-handlers.js file inside src/components/handlers/menu-handlers.js. In order to fetch entities from the WordPress API we need to add a handler. This will be a menuHandler.js component and it will contain the following code:
const menuHandler = {
    name: "menus",
    priority: 10,
    pattern: "/menu/:slug",
    func: async ({ link, params, state, libraries }) => {
        console.log("PARAMS:", params);
        const { slug } = params;
// Fetch the menu data from the endpoint
        const response = await libraries.source.api.get({
            endpoint: `/menus/v1/menus/${slug}`,
        });
// Parse the JSON to get the object
        const menuData = await response.json();
// Add the menu items to source.data
        const menu = state.source.data[link];
        console.log(link);
        Object.assign(menu, {
            items: menuData.items,
            isMenu: true,
        });
    },
};
export default menuHandler;
Once you've added the handler, you'll need to import it in to your index.js file - packages/mars-theme/src/index.js. That will look like the following:
// ...
import menuHandler from "./components/handlers/menu-handler";
// ...
libraries: {
  // ...
  source: {
    handlers: [menuHandler],
  },
},
You'll also have to add a beforeSSR method to the actions object like the following:
actions: {
  theme: {
    // ...
    beforeSSR: async ({ state, actions }) => {
      await actions.source.fetch(`/menu/${state.theme.menuUrl}/`);
    }
  },
},
At this point you should be able to see your WordPress website's menu data in the console.logs in menu-handler.js. All you need to do now is create your ownNavigation.js component. I'm not going to cover all of the details for this part, as it'll largely depend on your website's design, but I will explain how to get the menu data in to the component from the REST API. Your component should look something like the following:
const Nav = ({ state }) => {
  const items = state.source.get(`/menu/${state.theme.menuUrl}`).items;
console.log('ITEMS:', items);
  <SiteNavigation>
   ...
  </SiteNavigation>
}
Frontity defines state as "A JavaScript object containing all the state exposed by your package".
That concludes adding a dynamic menu. Learn more about fetching menus from the WordPress REST API
Continue reading... + How to build a headless WordPress website with Frontity / ReactJS - Pt. 3
Go back to... + How to build a headless WordPress website with Frontity / ReactJS - Pt. 1
This story is also available @ https://www.nmk.dev/post/how-to-build-a-headless-wordpress-website-with-frontity-reactjs-pt-2-3933990bab54